Module 1 - Laser Cutting
Laser Cutting
Brief - A Tool That Supports

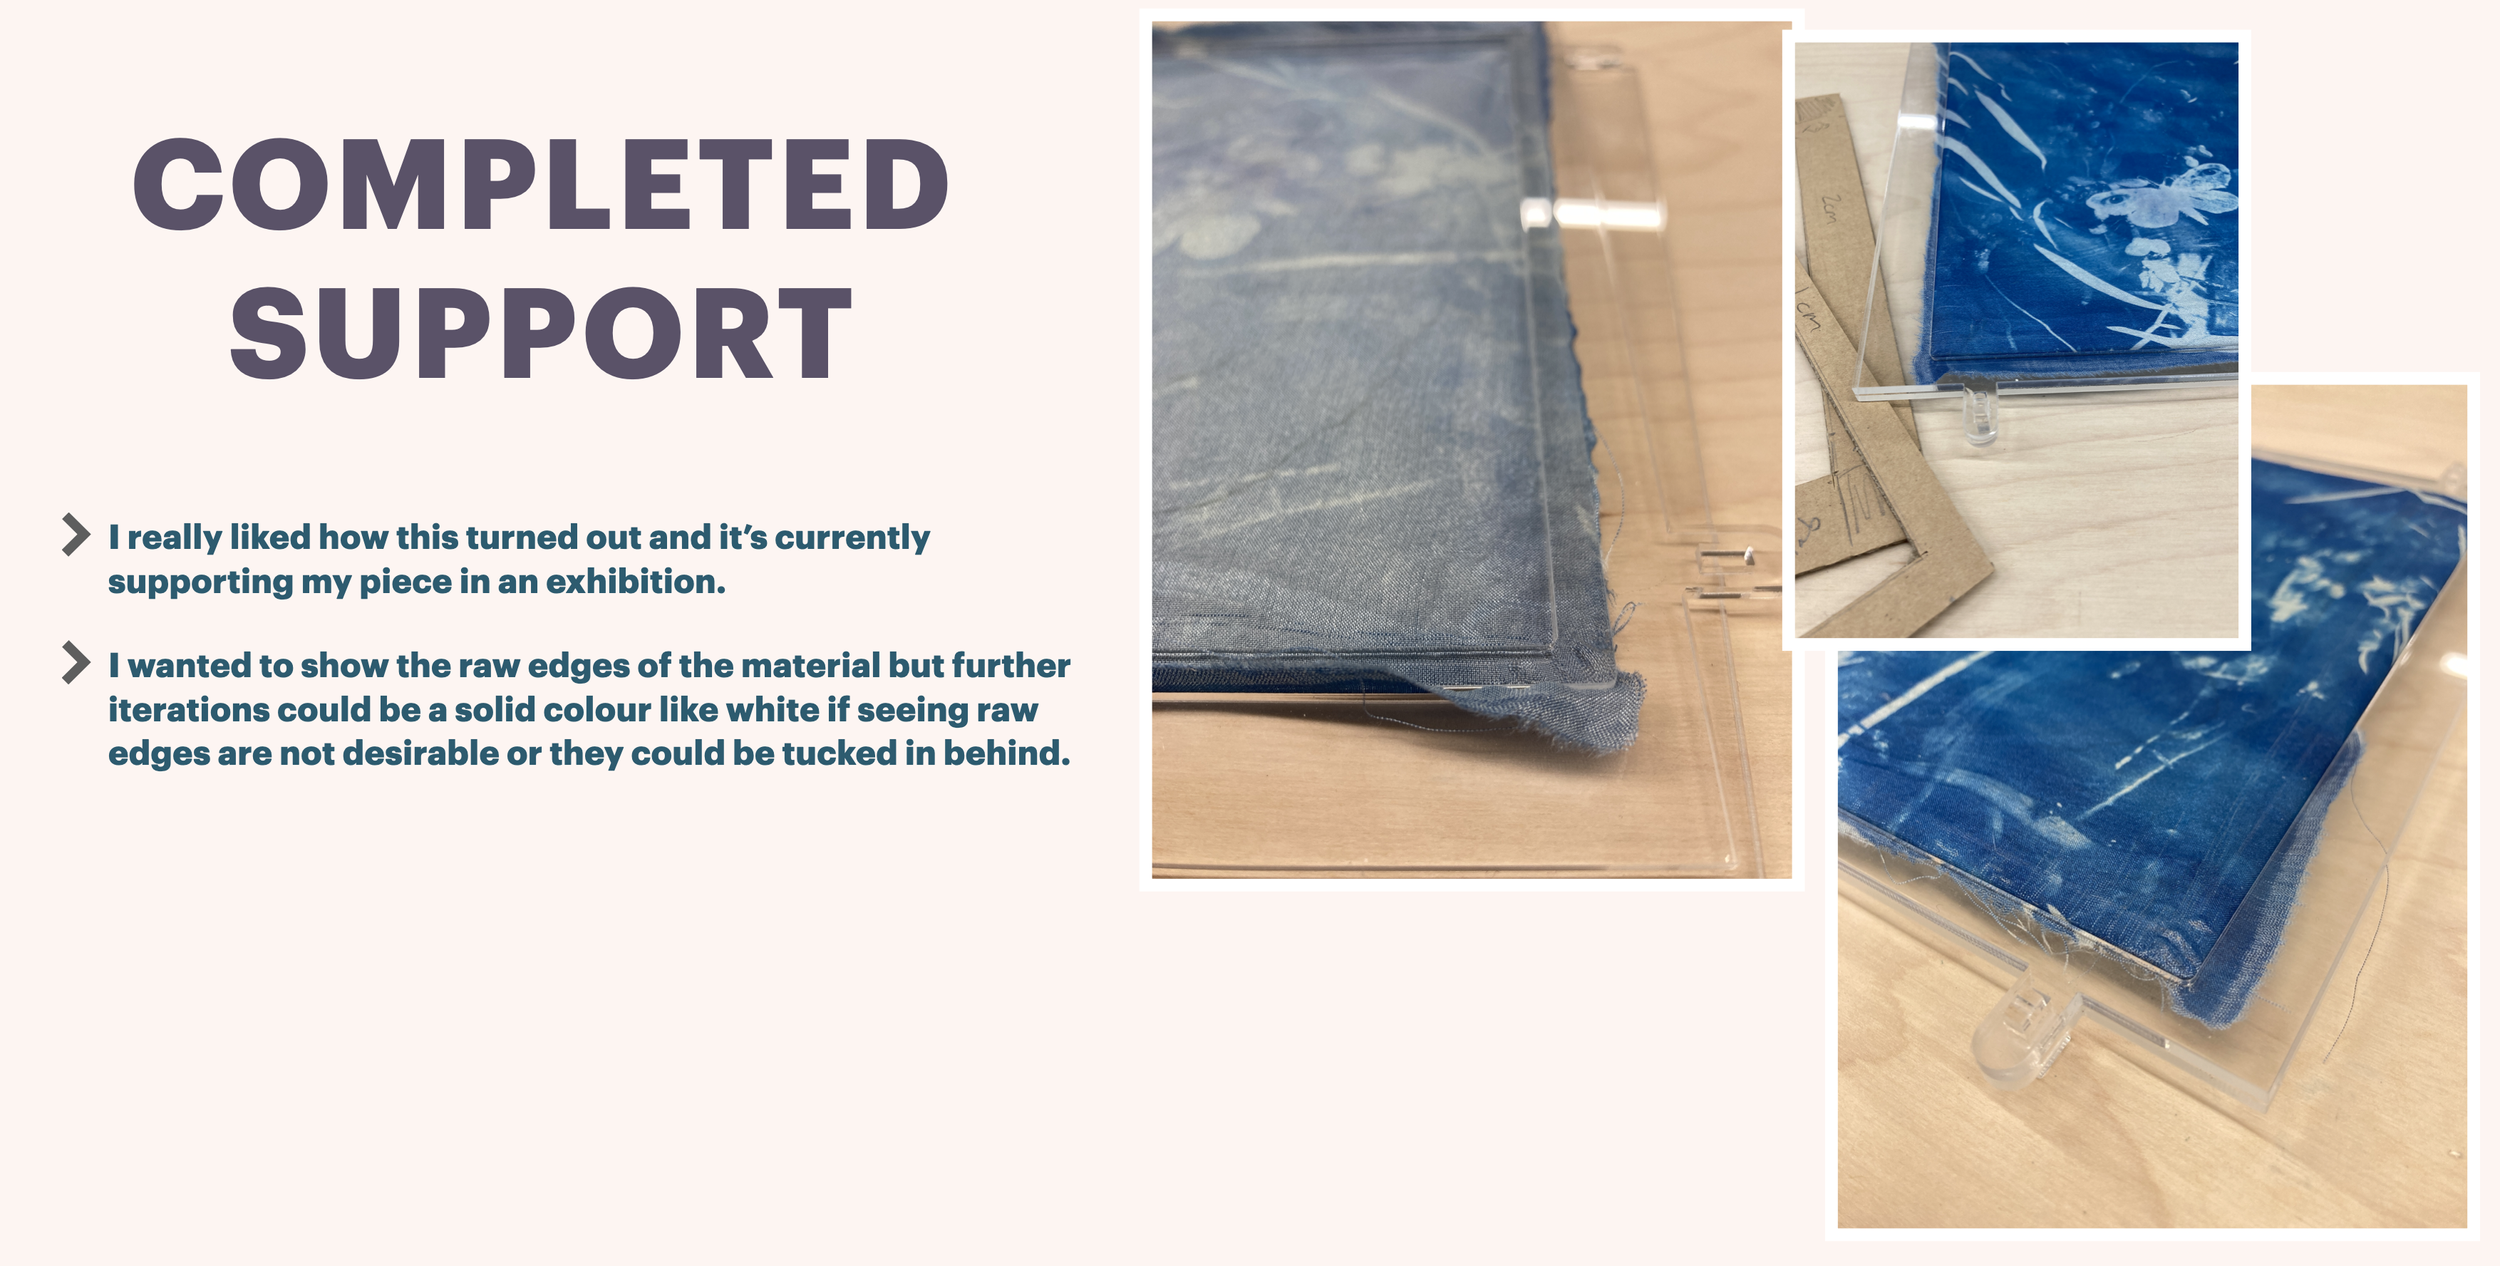
My laser cut tool that supports hanging in The Basement Gallery, An Táin Arts Centre, Dundalk.
Concept
An unobtrusive structure to support a silk cyanotype.

Material Experimentation
After testing wood and acrylic in the laser cutter I decided that acrylic would be a cleaner material to work with; I didn’t want to risk black marks on the silk fabric.
I was particularly drawn to clear acrylic as it interferes less with the finished piece and provides a good display.
Technique Exploration
My first task was to make a clear acrylic box.
I found a ‘Viking’ box generator online designed by Nicolas Padfield of FabLab RUC (Denmark)
I also made a kerf test for the material
I used this exploration to investigate techniques in how to work with acrylic
I found that because acrylic is not a natural material it is more consistent to measure and work with (It is still worth measuring the material before using, I found my 3mm acrylic was actually 2.8mm).
The acrylic can suffer ‘ghost’ grid marks if cut directly on the laser bed and if it is cut without a protective film.
I learned acrylic should be raised up off the bed with specialised cones or some acrylic off cuts. I found wood can be inconsistent and affect the cut if not all exactly the same height when placed between the acrylic and the laser bed.


Module 1 - 3D Printing
3D Printing
Brief - A Tool That Hooks

Hang in There, Gravity Print Hook designed and fabricated by Julie Corcoran.
Concept
Wall Mounted Gravity Print Hook

Fusion Software Design Render.
Research
I wanted to research existing solutions for holding or hooking onto prints. The key point being that the method of hooking the print must be non-destructive. I discovered the gravity hook which utilises marbles usually placed inside a length of wood.


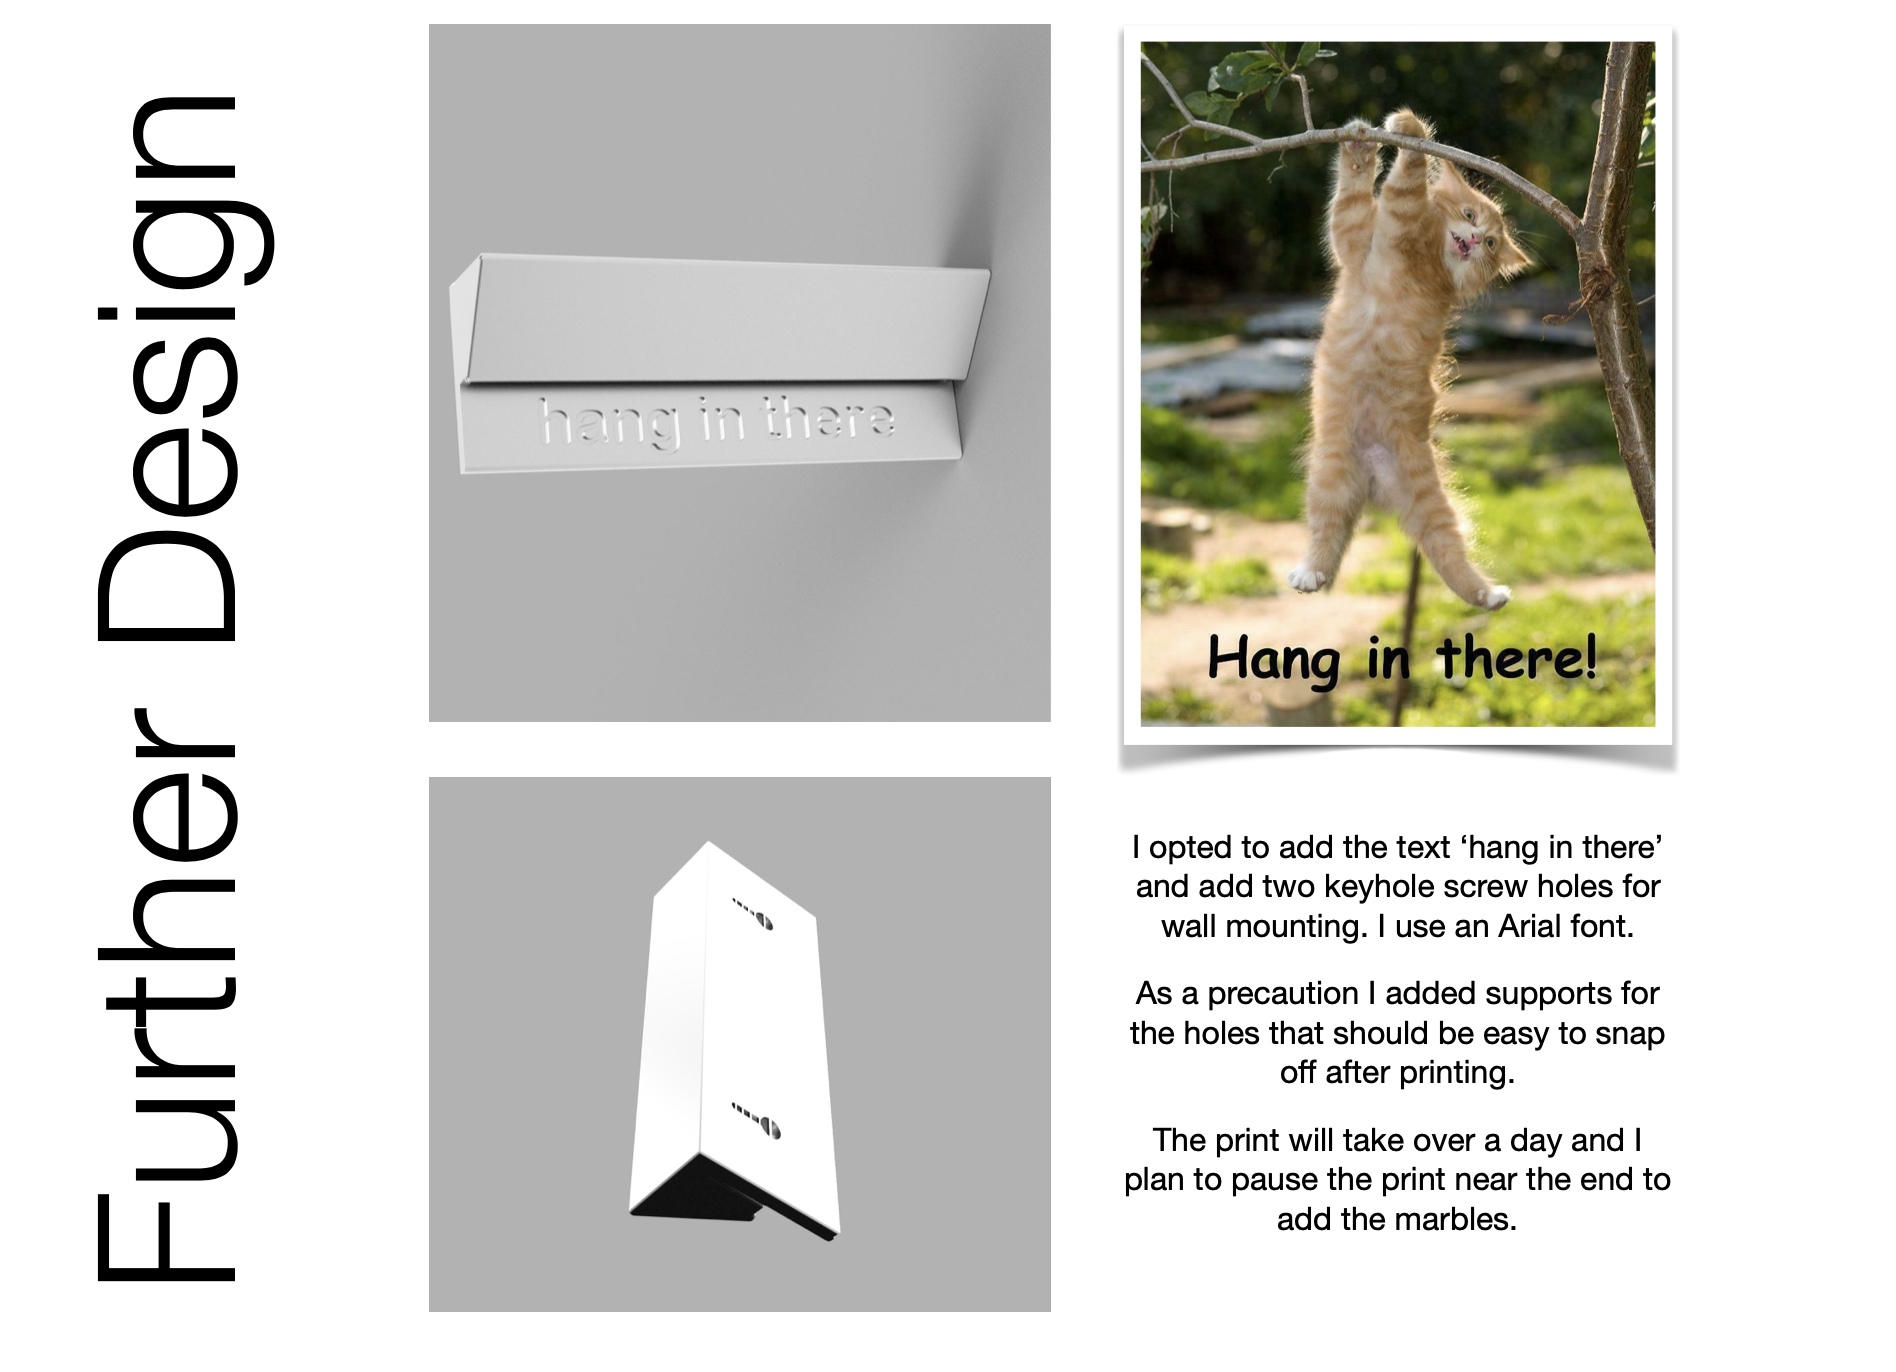

I followed a Youtube tutorial to learn how to design a keyhole feature to hook onto wall screws.
Pausing the print to add the marbles
Final 3D Print
The Cura software indicated 1 day and 2 hours to complete the print using 255g of PVA 0.4mm filament.
So I began the print at 10am. The first thing I noticed was the first layer was not fusing together. So the print was aborted.
The temperature in the Cura software was adjusted from 200C to 215C as I was reliably informed (by Carl) that sometimes the default settings need tweaking for the Irish environment.
The second attempt was perfect.
The following day I returned to the Fab Lab to pause the print just before the bridge was printed to add 18 glass marbles.
The height of the print meant vibrations from the nozzle could be amplified, destabilising the base of the print so speed was adjusted down by 50% for the last hour and a half.

Module 1 - Vinyl Cutting
Vinyl Cutting
Brief - A Tool That Guides
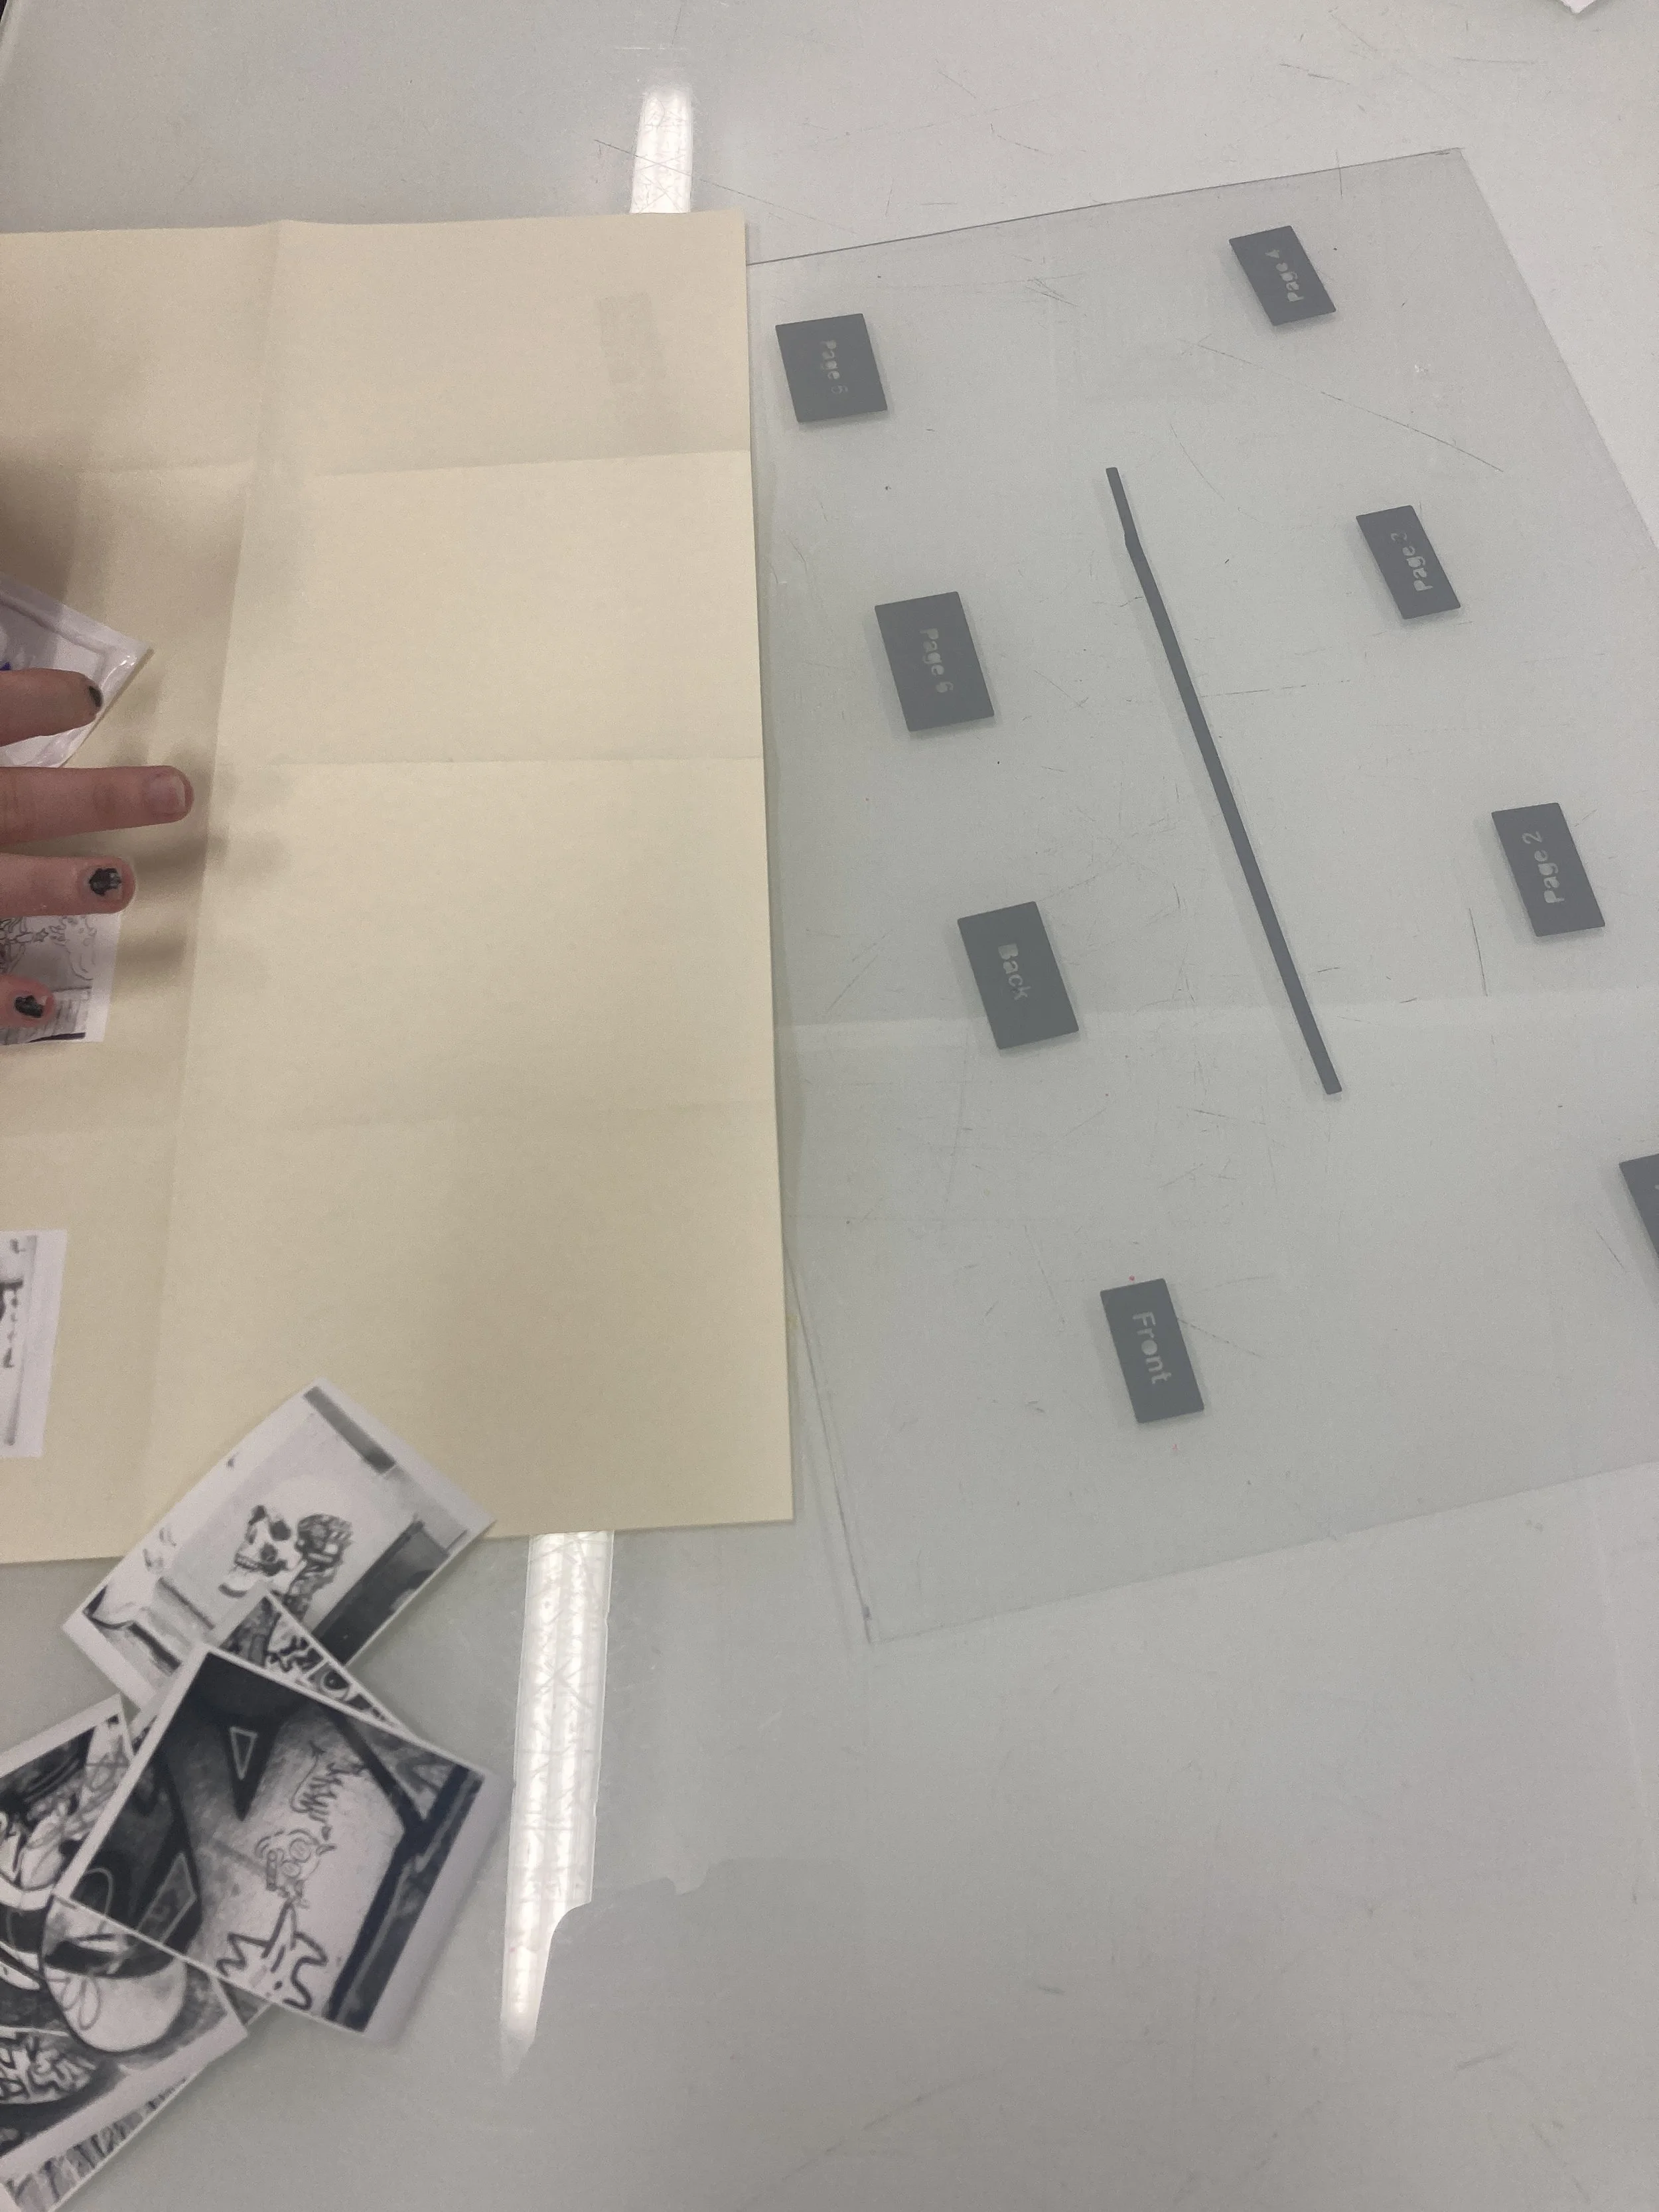
A student in my class using the zine guide to plan their zine layout.


Concept
A guide for making simple folded zines. I made one for A4 size paper and one for A3 size paper.
The guide can be placed over the paper to show how the layout of the zine will work; the back and front page, internal pages and cut line in the centre.
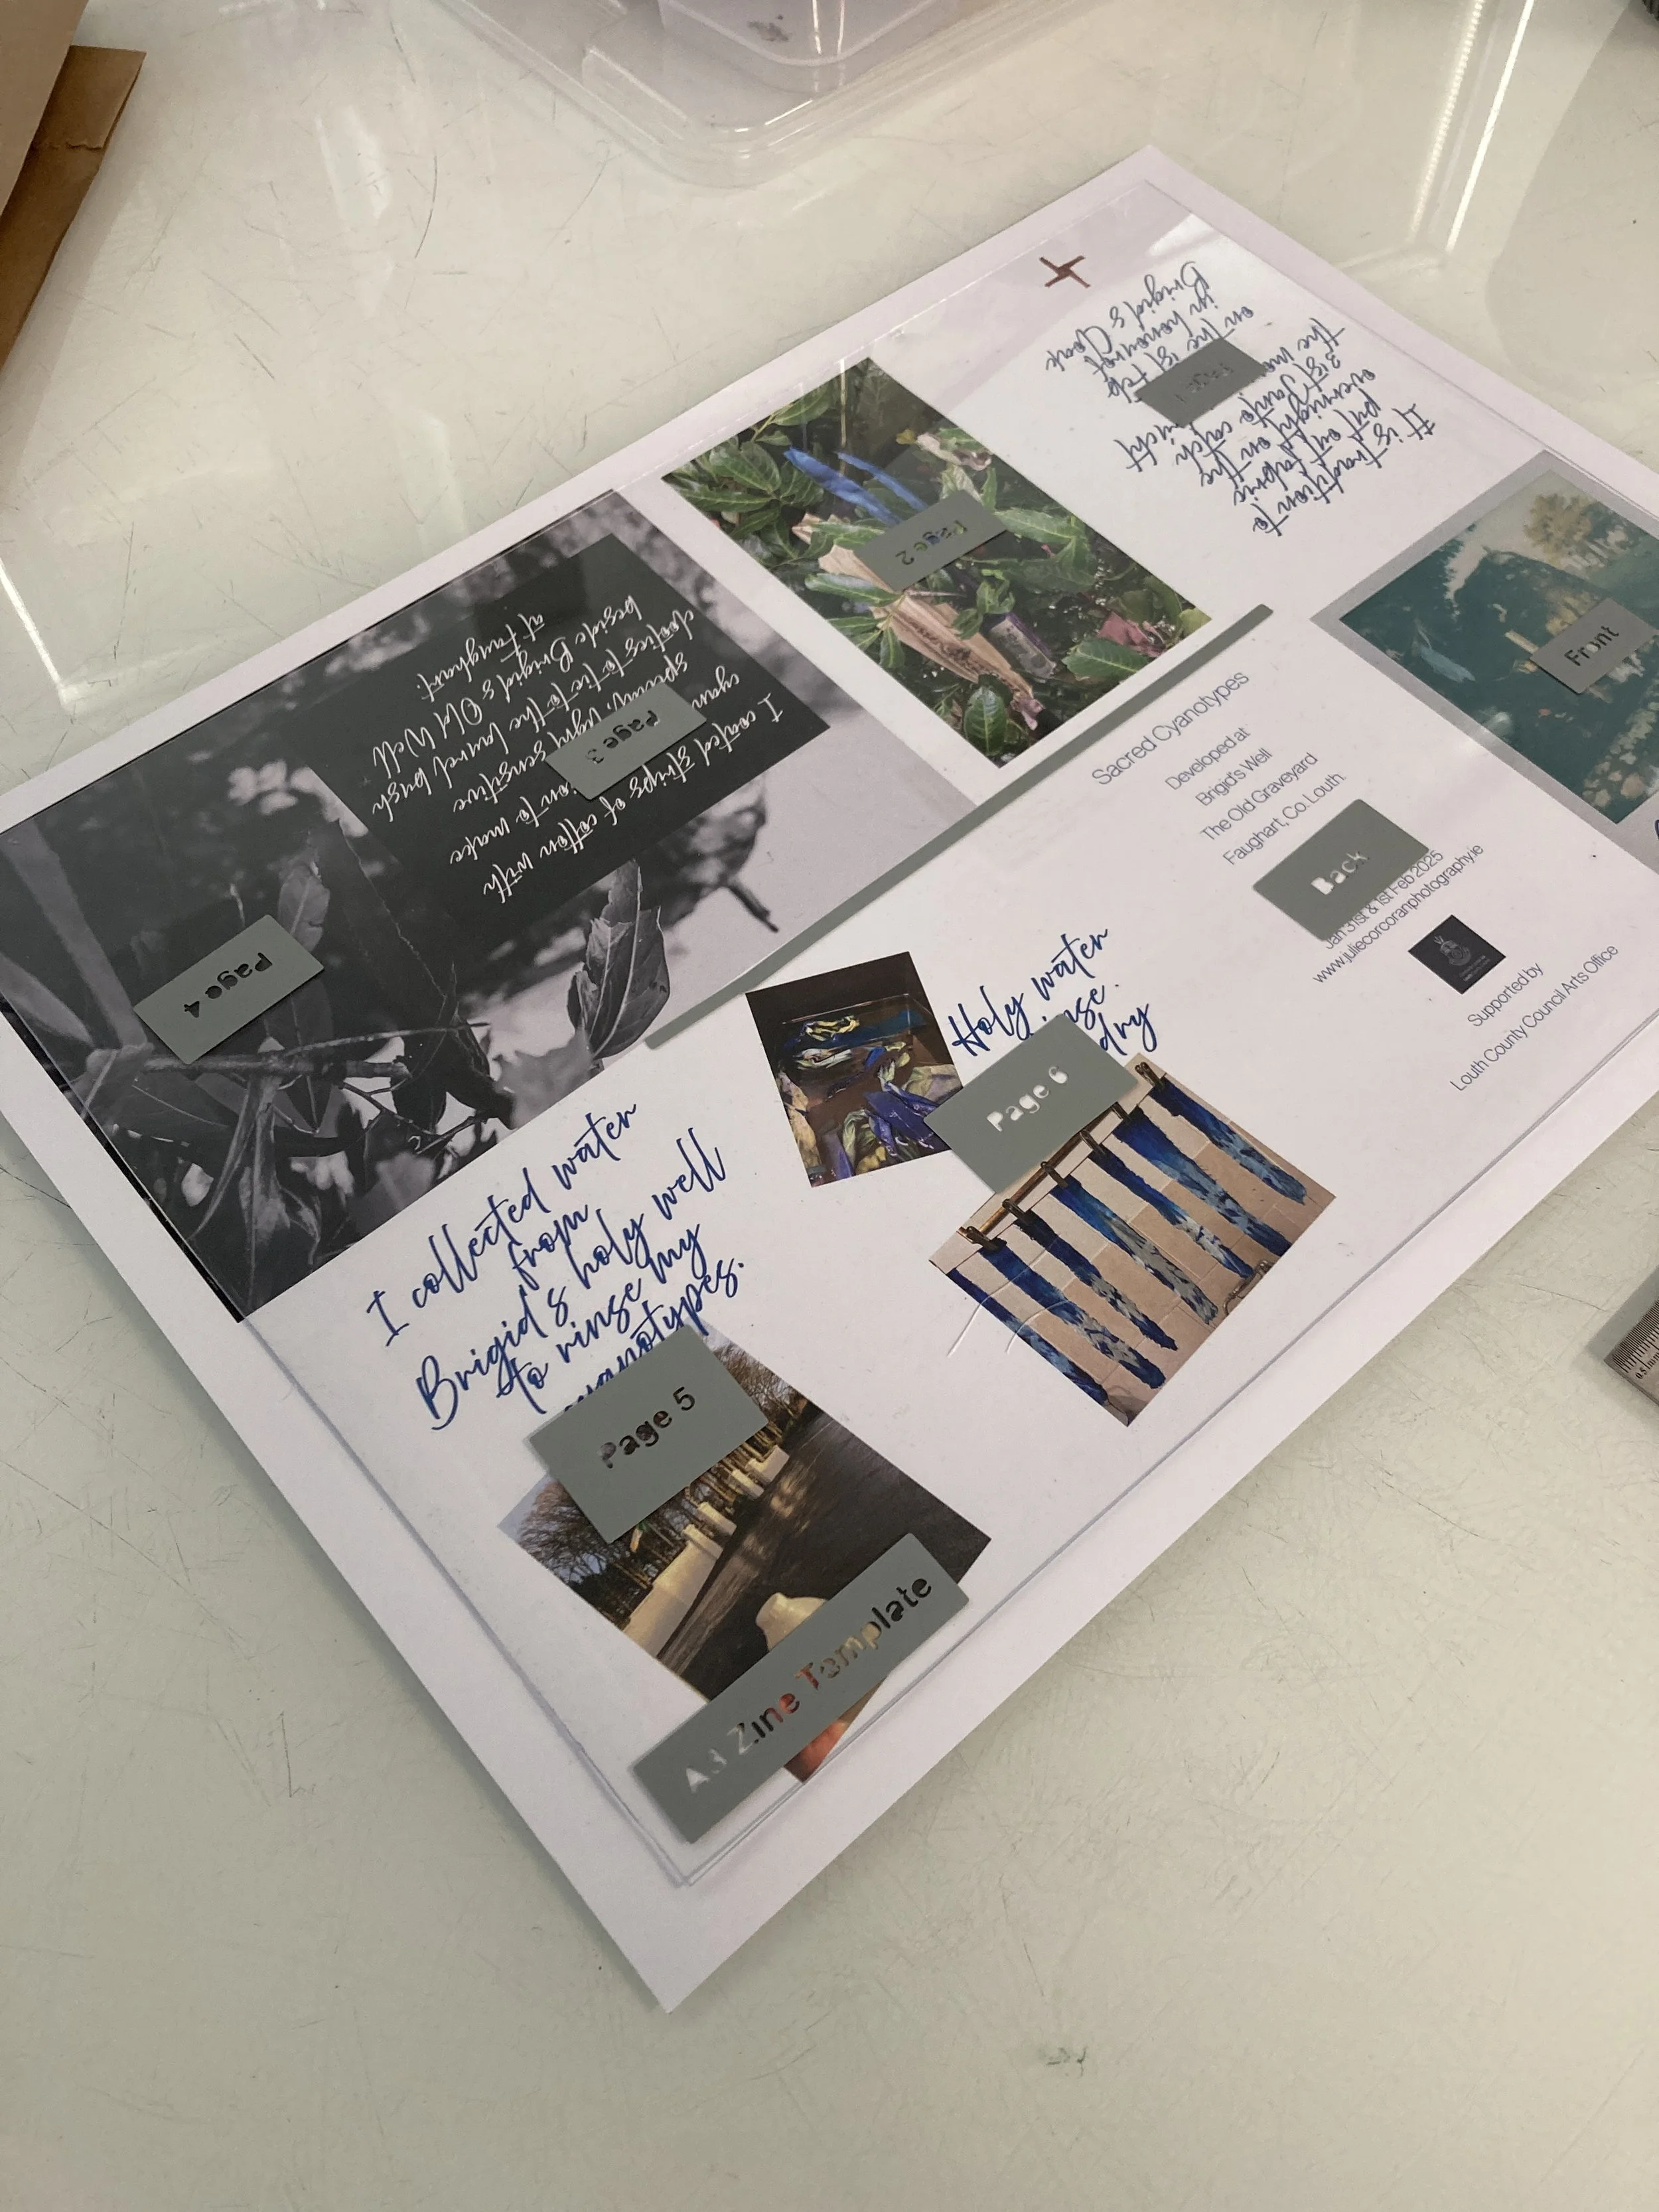
I used the zine guide for my own zine about cyanotypes made at St.Brigid’s Well on the 1st February.
Completed A4 Zine Guide
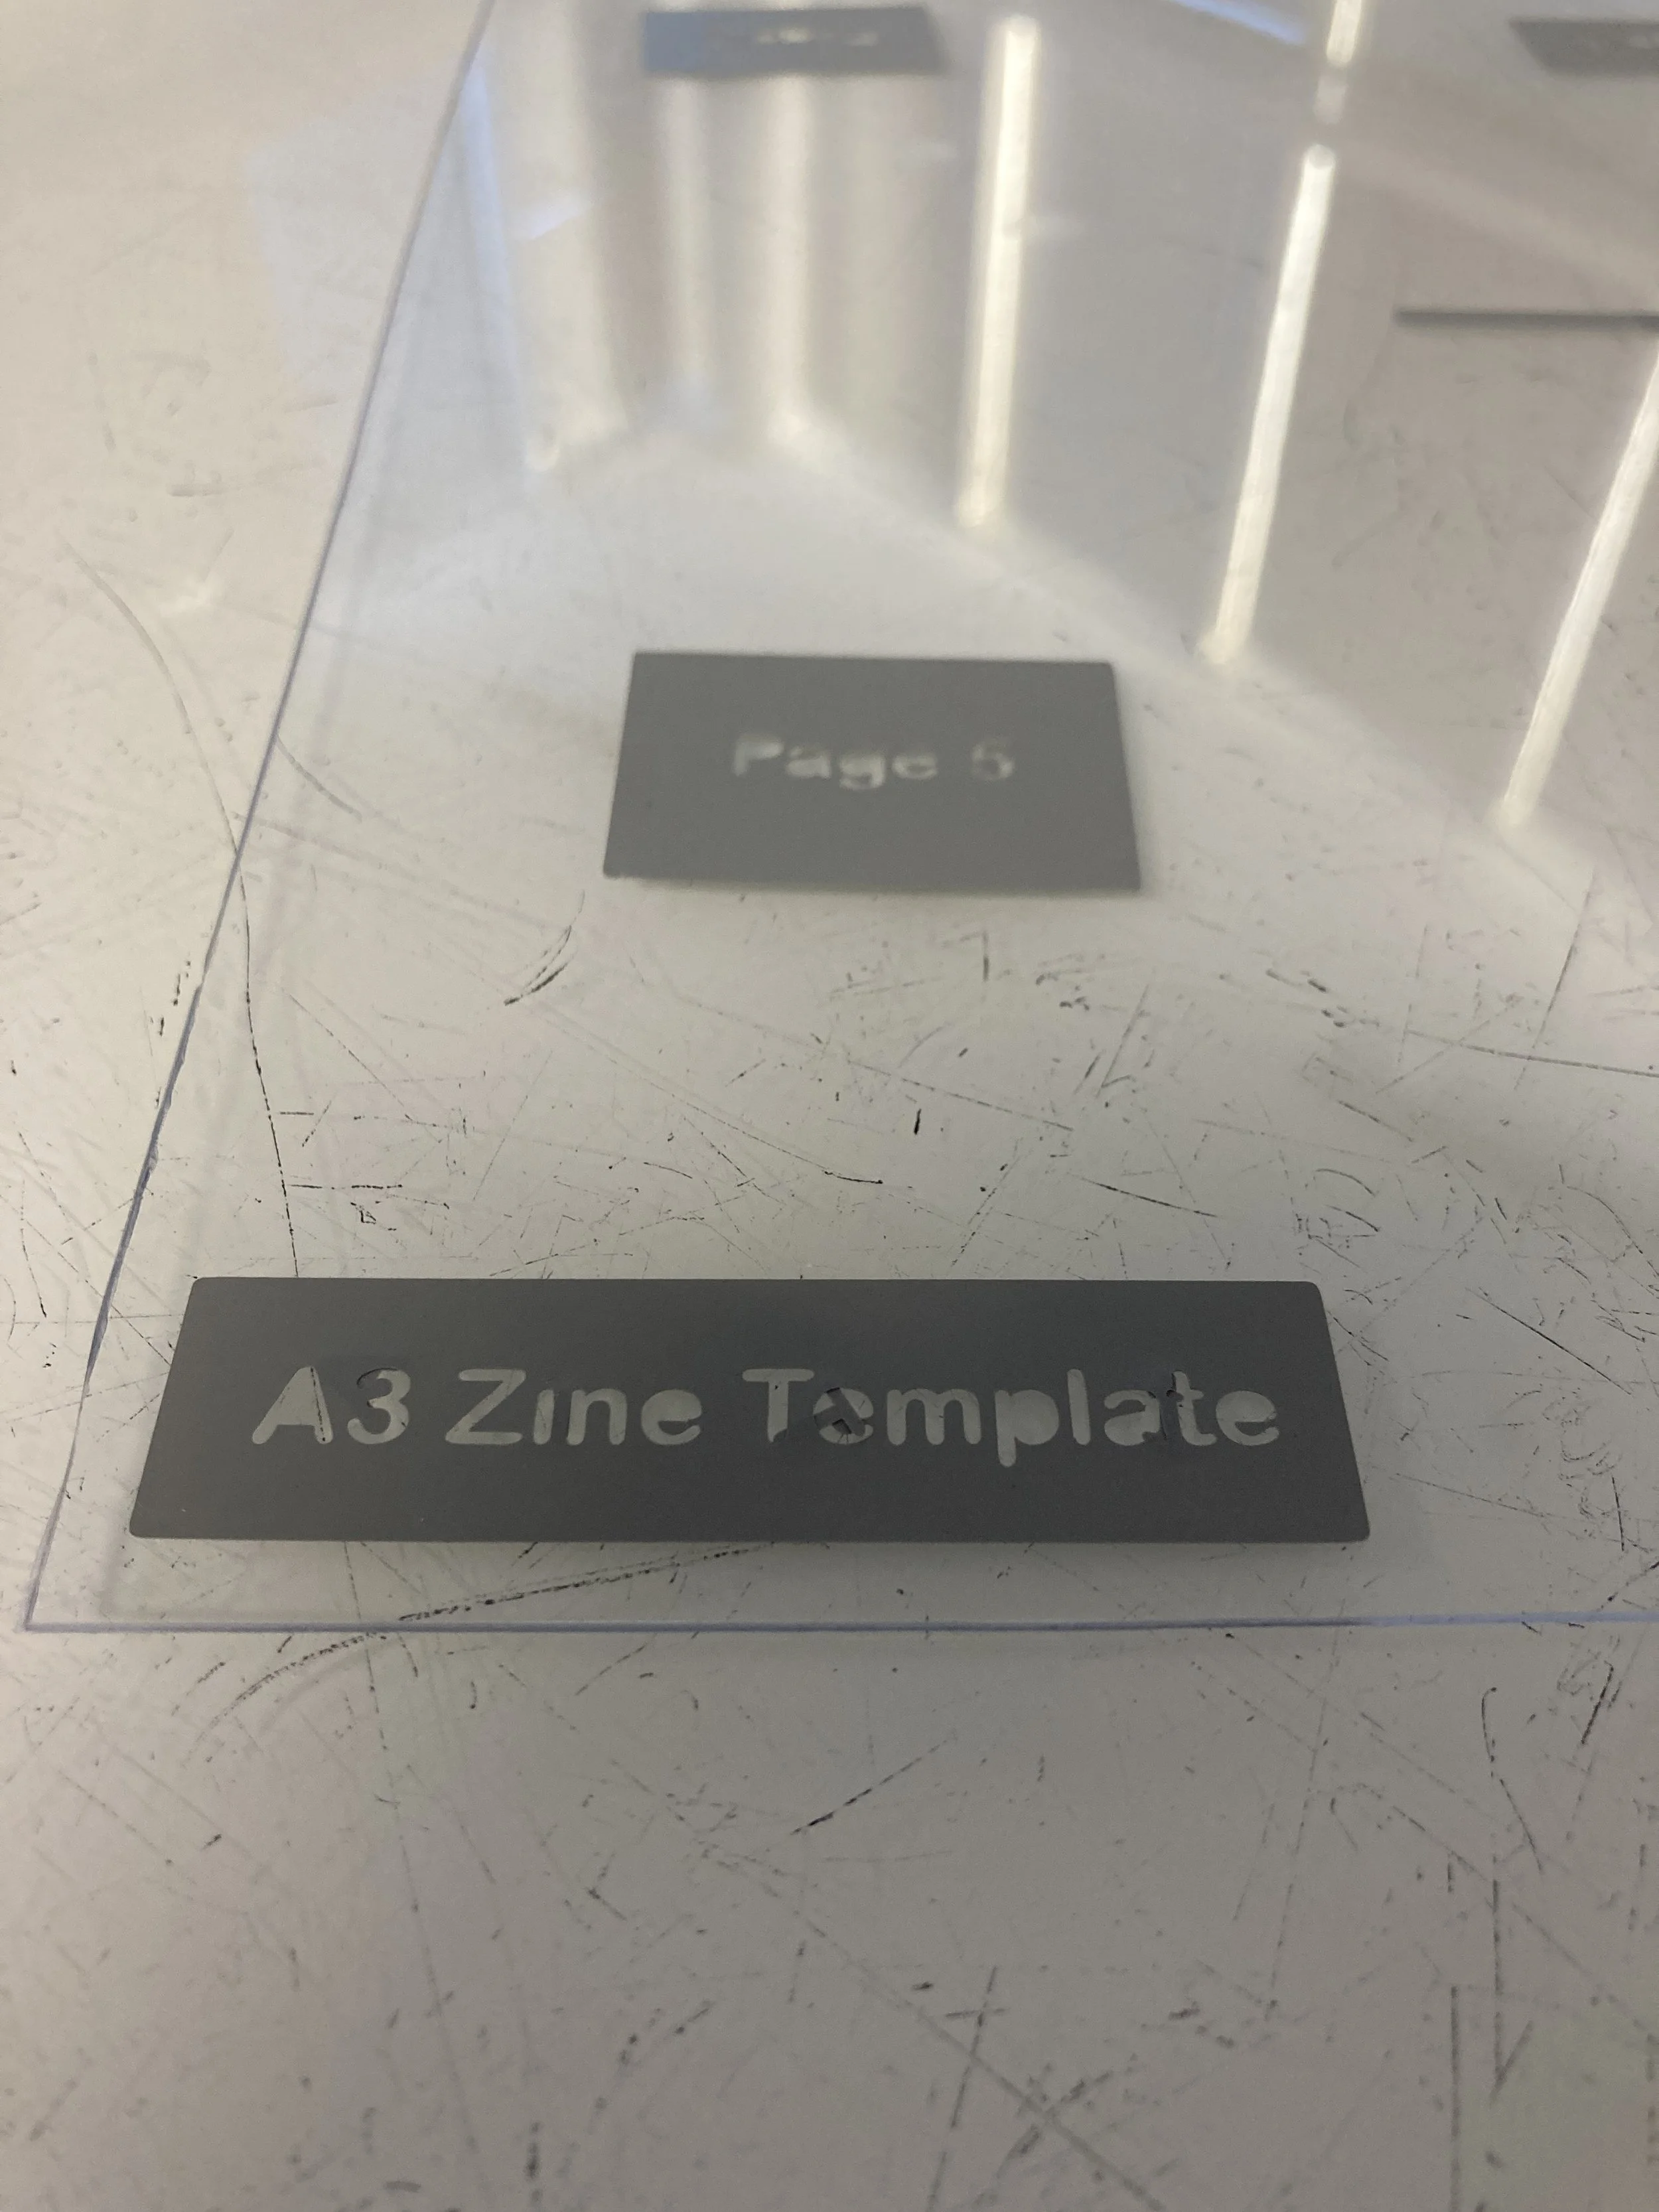
Completed A3 Zine Guide